Terminal Setup on MacOS
This is what the default terminal looks like on a Mac:

And this sucks. It looks bad, it is hard to read, and differentiate. And there are no fancy colors.
To boost it up and level up the terminal game we’re going to use use the following:
iTerm2
ZSH
Oh My ZSH
Steps:
Install Homebrew. For that, run:
ruby -e "$(curl -fsSL https://raw.githubusercontent.com/Homebrew/install/master/install)"
You may need to install Command Line tool for X-Code before that.
xcode-select --install
Download and install iTerm2 from here or run:
brew cask install iterm2
Install ZSH and oh-my-zsh
brew install zsh
sh -c "$(curl -fsSL https://raw.github.com/robbyrussell/oh-my-zsh/master/tools/install.sh)"
To run zsh shell, run:
zsh
We’re also going set up Auto Suggestions and Syntax Highlighting to make the experience friendlier and easier to use. To do that we need to edit the .zshrc file (located at ~/.zshrc). This is where most of our configuration is going to take place.
Install zsh-autosuggestions and zsh-syntax-highlighting:
brew install zsh-syntax-highlighting
brew install zsh-autosuggestions
You can set your ZSH theme by putting in this line into your .zshrc file. Make sure you import the .zshrc after any change for it to reflect.
ZSH_THEME=robbyrussell
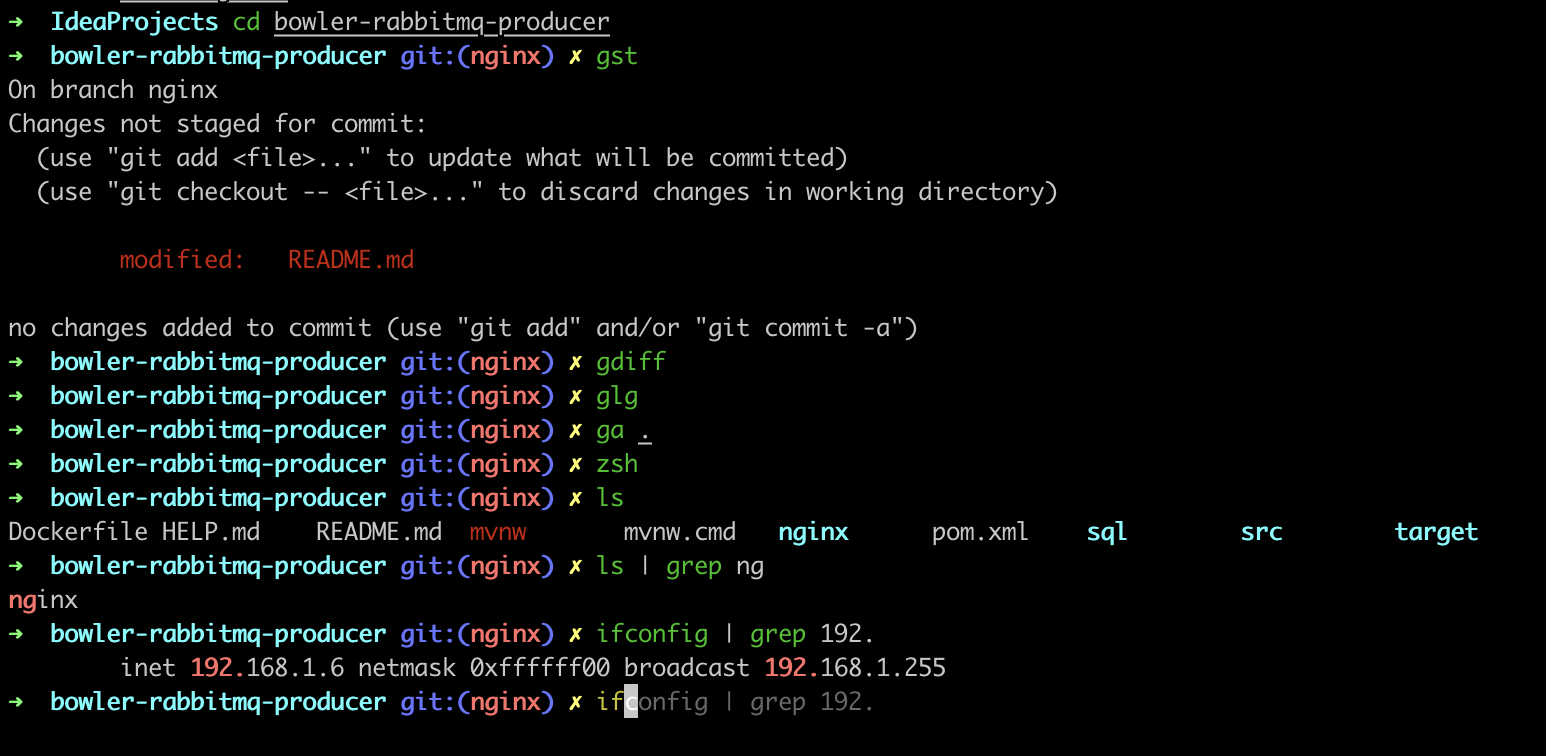
At this point your terminal/iTerm2 should look something like:

And this is much better. Notice the short git commands that I’ve used? Well, those are configurable too. Follow this repository for the complete guide and .zshrc file with all the configurations, aliases and functions.
Thanks for reading.